ai怎么做立体方块
今天分享会直立方体,首先选择多边形工具,单击设置六边,双击旋转工具,旋转九十度,选择直线端工具锚点,对锚点, 接下来框选形状生成器,生成框选整个对象,设置填棕色,白色,接下来复制设置渐变,按住 shirt 键设置颜色。 接下来 ctrl c ctrl f 按住 alt 加 shift 键向中心收放路径查找起,选择变换,垂直翻转, 选择刚刚复制的图形,选择渐变,设置渐变颜色。编组缩放, 选中当前两个对象对齐,取消轮廓。接下来我们绘制第二个图形,选择矩形工具绘制,选择直线段工具锚点,对锚点 入镜查找器选择分割,取消编组,选择镜像,按住 alt 键补充 确定,以此类推。接下来选择文字工具,输入文案,这样我们就制作完成,你学会了吗?学会记得点赞关注哦!
粉丝3413获赞3.4万
相关视频
 01:15查看AI文稿AI文稿
今天分享绘制 a 方笔,首先选择多分形工具,单击设置六边,选择主线段工具,捕捉锚点 框选整个对象,选择形状生成器,生成颜色设置为白吸管工具设置颜色,按住 order 键填充 install 为推, 选择多边形工具,设置十边,旋转九十度,再次选择多边形,设置五边缩放路径查找器变换垂直翻转 框,选对齐,选择直线段工具锚点对锚点,接下来框选 选择形状深层剂深层,接下来吸管部就失去颜色, 按住 alt 键拾取填充。接下来选择钢笔绘制 执行的效果风格画笔画预期置于底层就制作完成,你学会了吗?学会记得点赞关注哦!
27菲儿设计 00:29查看AI文稿AI文稿
这样的堆积立方体在 a 当中是怎么做的呢?首先在黑色的背景上绘制一个正方形,给圆角 学习效果里的三 d 出出和斜角旋转一个角度,增加厚度,斜角这里改为高圆形,厚度改为八,点击确定缩小后复制出来,然后单独对句型修改颜色, 调整立方体的位置。接下来增加投影,在这里添加高光堆积立方体就完成啦!学会记得点赞关注哦!
395羊羊设计小站 00:34查看AI文稿AI文稿
糖糖在干嘛呢?哦,豪哥,我在想怎么用 a 把这个魔方做出来呢?哎呀,简单,我教你。首先画一个六边棱形,调整一下角度, ctrl c ctrl f 重复复制三个,第三个填充白色,调整一下不同密度,然后复制一个最大的。至于顶层画三个直线, shift 加选 用路径查找器分割飞别,填充三个不同深度的灰色,颜色模式改为柔光。然后横排三个,竖排三个,效果就出现了。同样的方法也可以做出其他的立体效果,赶紧试试去吧,记得点赞哦。
2010辕康健设计研究所 02:05
02:05 14:03查看AI文稿AI文稿
hello and welcome back today is sunday, so it's time for a new tutorial in this video, i will show you how to design an isometric three d logo with a hex grid, so make sure to follow the video until the end and don't forget to leave a like subscribe and comment below have a nice watching first step go to the rectangle tool, click and maintain to show the other shapes tools and choose the polygon tool one click on the canvas and the polygon two loction will appear keep it at six sides and change the radius to any size you want now select the shape and choose the rotation tool now click and rotate by ninety degrees so the horizontal sides become vertical now drag the shape underline it with the left and top sides of the canvas make sure to activate the smart guides you can press ctrl u as a shortcut maintain out and shift and drag the shape to duplicate it and align it with the right side of the original polygon now to automatically repeat the process while a new shape selected press and repeat control d until you make a complete line of polygons select everything maintain out and drag the whole line of polygons down until it will be aligned with the bottom of the old polygons yeah now select the two lines and repeat the process once again now you can press and repeat control d until you fill all the canvas with aligned polygons select everything and then press ctrl g to group it then go to the layers panel and check this square to lock the grid layer now click here to make a new layer now we will use the grid to design three sides of a cube, which we will use use it to design our three d logo with the bent tool and the smart guides activated click on the top corners and the center of one polygon to make the top side of a cube now with the pen tool make the other sides of the cube okay now, we have our cube shape and our grit everything will be easy now now, we will give some basic colors to the cube so we can differentiate every side okay select the right side and go to the color panel and click on this two arrow to swap the empty fill with the black stroke double click on the black color and change it to a light blue color same steps to the top side and change the color to green。 请注意 and for the left side change it for yellow okay now we have our cube colored our logo will be a nice emetric three d letter x with a box elevating on the top so put the cube aside and while all the sides selected press, ctrl g to group it now maintain out and drag the cube to duplicate it and put it on one polyman of the grid select the new cube then maintain out and drag it off and overlap it on the left side of the old cube repeat the same process once again now we have one side of the three dx maintain out and drag one cuban align it with the top left side of the middle cube just like i did now maintain out and drag the cube to duplicate it and overlap it with the right side of the middle cube right, click and go to arrange and click on bring to front now our three dx completed ungroup all the cubes forming the x and select all the top sides now got to the pathfinder and click on unite now we have one single shape as the top of the x let's make the elevating box okay, maintain out and drag one cube to the middle top of the x drag it a little bit down to make it overlapping with the x right click and go to arrange then click on bring to front now, we will make the elevating effect right click on the cube and ungroup it maintain out and shift and then drag the top side down and put it a little bit under the cube now got to the transparency panel and change the color mode to multiply now the cube look like elevating on top of the x now are three d logo completed i want to apply the old xbox logo colors to it i will google the word xbox on google images to find the xbox sloga now this is a great image to pick the colors from just right click and copy the image now go to edit then click on paste decrease the size of the image now with a rectangle tool make a rectangle and apply the default gradient to it now with the eye drop a tool pick the dark green color from the xbox logo, double click on the color and copy the code now select the rectangle then go to the gradient panel then double click on the right color stop and paste the code here again with the eye drop a tool will pick the light a green color from the xbox logo then double click on the color and copy the code select the rectangle go to the gradient panel and double click on the left colour stop then paste the code now i will do the same process to pick the gray gradient color delete the xbox sloga image select the top side of the x and with the eye drop a tool pick the gray gradient color do the same thing to the top side of the box change the shadow color to gray and go to the transparency panel and change the color mode to multiply select the top side of the x go to the gradient panel and change the gradient type to radio do the same thing to the top of the box now select all the left and right sides and with the eye drop a tool pick the green gradient color now select the both sides of the box and select the gradient tool, then click and drag down to adjust the gradient and make it vertical from light to dark make the same thing to the left and right sides of the x select the left side of the box go to edit then click on copy, return to edit and click on paste in place go to the transparency panel and change the color mode to multiply then decrease the opacity to fifty percent now make the same thing to all the other lefts sides now let's add some shiny effect to the corners select the pen tool and make a line on the middle corner of the box change its color to whiten increase the size a little then change the width profile file to this one now go to effect blur then click on go see and blur check the preview box and adjust the value as you want select the blurred line then go to the transparency panel and change the color mode to overlay now maintain out and drag the line to duplicate it and put it on another corner now do the same to all the corners you can get creative and make any three d design you want using the hex grid just don't stop experimenting, i hope you found value on this tutorial anyway, don't forget to leave a like subscribe and if anything is not clear you can ask me in the comment section below, i will answer in few minutes。
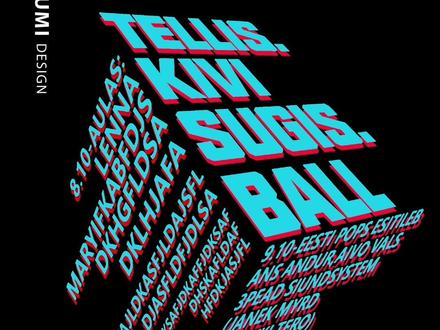 00:28查看AI文稿AI文稿
之前啊,这立体方块字我还一点一点的摆呢,今天才知道。我们先画个正方形,找到效果,三 d 突出和斜角勾选,预览选等角右方增加一些厚度就可以了。然后从对象扩展外观, 取消编组三次,同时选中一个面和对应的文字,对象封套扭曲,用顶层对象建立另外两个面也是相同的操作。最后复制一层更改颜色就做好啦。
407青柠设计铺 00:59查看AI文稿AI文稿
今天我们来学习一下倾斜工具,用它来制作一个三 d 的立方体。首先我们拖入三张素材图片,将他们这样排列在一起,然后我们先将上面的这张图片给他翻转一个角度, 这时候我们需要去给他重置定结宽,将它的高度稍微拉低一点。接着我们利用倾斜工具来处理下面右边的这张图片。首先需要给他单击一下,确定他的一个参考点,再按住键盘上的序幅键,结合鼠标向上拖动。接着再切换到选择工具,将它的宽度稍微缩紧一些。 我们再切换回倾斜工具,将它的高度拉下一点,用这种方法同样的也处理一下左边的这张图片。我们再选中顶部的这张图片,给他添加一个投影效果,垂直位移给他,把阴影设置在这下面两张图片的旁边,再给他加重一个模糊效果,点击确定。 接着我们把左右两个面的图片给他置为顶层,一个立方体的阴影效果就做出来了。那么这一讲先到这里关注我,有任何问题。
240职场加分技能 00:43查看AI文稿AI文稿
先绘制一个正方形,找到三 d 的突出和斜角,调整样式数值,这个立体的图形呢就 ok 了。之后我们打出三段文字,把这三段文字拉到符号里面,再回到我们这个立方体,在外观这里呢,点开这个图,把三位模式不可见点开, 那可以看到第一个图刚好是在顶部的这个部分,点开上面的这个符号,可以看到刚刚拉进去的这三个文字。先找到第一段文字贴上去缩放以适合调整位置,再找到第二段贴上去调整位置。 最后一段同样的方法完成之后呢,我们给他做个扩展,图形呢就能分离出来了。
330平面设计教程【收学员】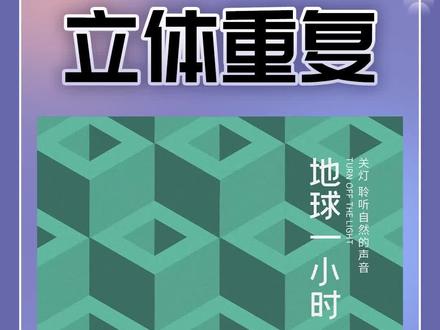 00:31查看AI文稿AI文稿
这实习生就是牛啊,三 d 重复图形,一个个拼的。首先绘制一个正方形,双击比例缩放工具,等比缩放百分之五十,复制一个,然后全选,建立复合路径 型效果,三 d 突出和斜角选择得角上方突出厚度可以参考我的数值。把图案拖入到色板,绘制一个矩形,双击色板中的形状拼贴类型改为粘型,调整一下宽度和高度。效果完成,你学会了吗?
7090佑佑设计研究所 00:27查看AI文稿AI文稿
挑战二十秒,做出三 d 重复图形。首先绘制一个正方形,双击比例缩放工具,等比缩放百分之五十,复制一个,然后全选, 建立复合路径,执行效果。三 d 突出和斜角选择等角上方突出厚度可参考我的数值。把图案拖入到色板,绘制一个大矩形,双击色板中的形状拼贴类型改为砖型,调整一下宽度和高度搞定。
4664青柠设计铺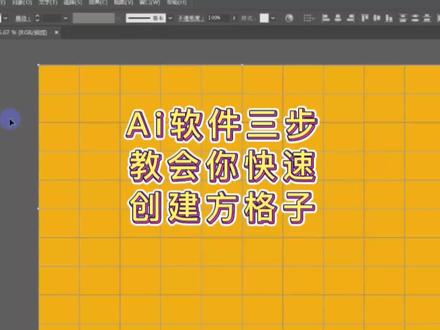 01:09查看AI文稿AI文稿
ai 软件如何快速创建方格子?先填充一个矩形, 然后选择对象路径,然后有个分割网格, 然后开始选数量是多少就可以了,每一个都可以快速创建网格,可以预览,也可以添加参考线 啊,点个确定就完成。之后呢,我们可以扩展,他必须要扩展啊,没有扩展的话他就还是一个图, 当你扩展之后呢,他这个格子就是一个一个的,看到没有? 好了,学会了吗?记得帮我点个赞哦,谢谢!
1008忧忧教画画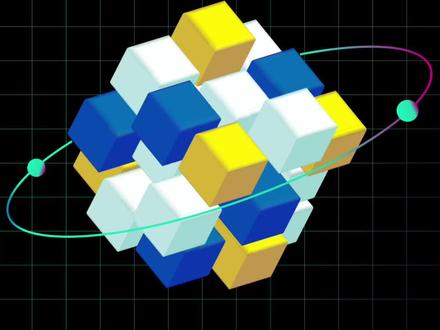 01:07查看AI文稿AI文稿
今天教大家怎么用 ai 制作三 d 魔方效果。首先我们在黑色背景上画一个白色正方形,然后我们在效果里找到三 d 突出和斜角,调整突出厚度和光源,一些竖直斜角选择高圆角, 然后我们一层层复制,把它耒成一个魔方的样子,然后我们选择部分方块移动,做出错落的效果。 然后我们选择部分方块给它修改颜色。我们可以在窗口外观里面找到刚才的三 d 效果,这样我们可以重新修改正方体安面的颜色。 这里我选择做一个黄色蓝色搭配的效果小技巧,我们可以给暗面一些彩色,而 不是单纯的黑色 白色方块,暗面也可以给一个青色的颜色倾向,然后我们全选扩展外观,调整大小,这样我们的三 d 魔方效果就做好了。
53设计GO软件培训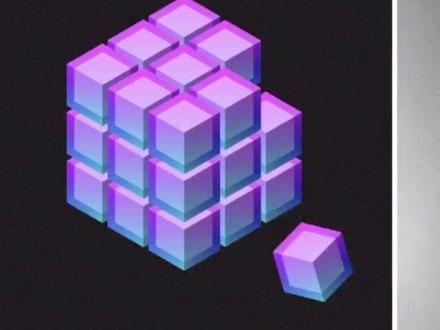 00:44查看AI文稿AI文稿
你是真能啊,你啥你都有,手绘板呢?看见这一落一落的,我真是画蒙了,啥也不是啊你。首先啊,第一步,画一个正六边形,选一个娘一点的渐变色,旋转九十度,再做一个同心的白色六边形, 转一下透明度,画三条线,表示小魔方的透视。其实这步画一条,另两条旋转复制就 ok 了。 ctrl c、 ct f f 原位粘贴一个一模一样的六边形,填充深灰色。为了让小魔方块有明暗关系,选中这三条线和灰色图形,点击分割,点击右键取消编组,分别给三个面加不同的图层 模式。立体的感觉出来了吧。然后我们再沿着透视的方向复制几个效果就完成了,你说吧,也不是多难,就是做完之后有成就感。
 00:27查看AI文稿AI文稿
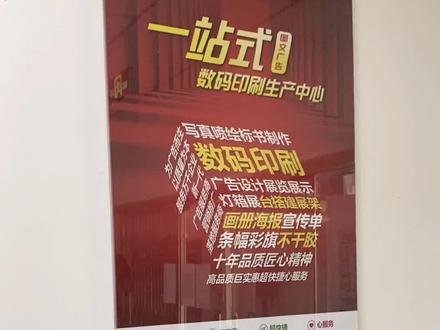
今天去打印店看到这种立体文字海报,是怎么做的呢?首先书写文字,分别拖入符号面板。接下来绘制矩形效果。三 b 突出和斜角,增加厚度,调节角度。边 贴图。分别给这三个面贴上文字符号,可随意调节大小,勾选三维模型不可见。最后,对象扩展后更改颜色,效果就完成啦。学会记得点赞关注!
269047设计研究所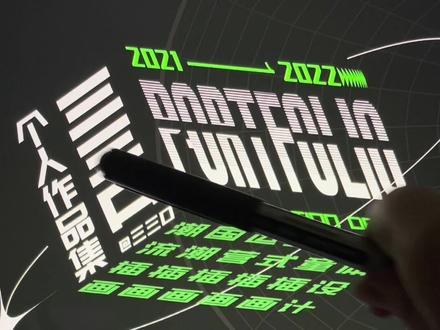 00:34查看AI文稿AI文稿
这种三 d 立体的方块文字,我之前都是一个面一个面的拼,今天学到一招。先把文字备好,画个正方形,找到效果。三 d 突出和斜角勾卷上预览 位置,选个等角系列的,增加厚度就行了。然后在对象中扩展外观,再取消编组三次,同时选中一个面和对应的文字。康索奥特加 c 里封套扭曲。重复此步骤会发现上面的变形了。别慌,我们去工具栏找到倾斜工具,调整一下就做好了。
992青柠设计铺 01:20查看AI文稿AI文稿
像这样的立方体字体你会制作吗?今天小智老师就为大家讲解一下如何制作。首先我们用文本工具在画面当中单击输入我们想要的文本, 输入完成后,我们全选直行, ctrl shift 加 o 进行扩展,右击取消编组,我们打开符号面板,将他们拖入符号中,我们新建三个。新建符号出来 之后,我们用矩形工具在画面当中单击输入一百五乘一百五的矩形单,确定 执行菜单栏效果,三 d 突出和斜角,在弹出对话框这里我们勾选预览厚度,勾选为一百五十, 依次输入数值,单击贴图,在贴图面板这里我们选择相应的面, 选择我们新建的符号。单机缩放已适合 勾选三位模型不可见,单击确定,再次单击确定执行对象, 扩展外观,将这个图形按照的键复制一个出来,移动一下位置,再按抓的键复制一个出来,移动到相应位置,这样我们的立体字就做完了,你学会了吗?
206小智讲设计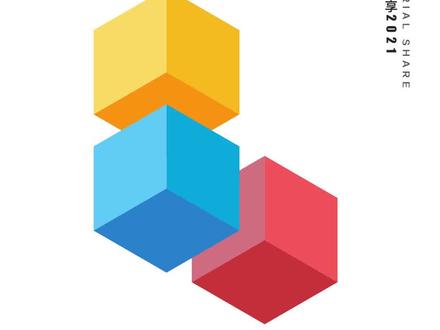 00:20
00:20


