Quick Matte 使用教程

粉丝46.4万获赞197.6万
相关视频
 00:50297中农董军实验室-Lq
 04:36
04:36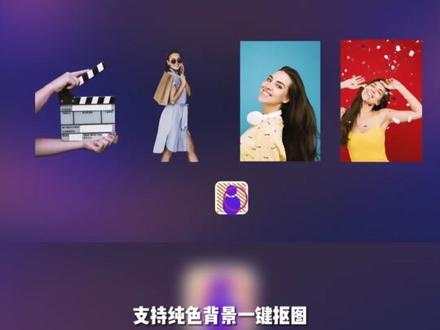 01:01查看AI文稿AI文稿
分享一个在 a 一中处理图层遮罩最实用的脚本 iq, 有了它,可以更轻松的在 a 一中使用遮罩和图层。可以选择图层合并路径的五种模式,比如根据图层层级来相减排除或相交遮罩共享区域 框选图层轻松实现穿透效果。可以将复杂的图形进行拆分和合并, 还可以绘制蒙版一键分割,支持纯色背景,一键抠图, 选中需要的素材,一键合并转化成屏 ng。 此脚本提供约十八种工具, 可以更轻松的在于一周使用遮罩和图层。安装包内付脚本使用教程,想要脚本的小伙伴记得关注领取呀!
172AE草莓星 05:33查看AI文稿AI文稿
quick timeline is a quick tab in quick show which lets you create timeline shows where you synchronize the laser effects to music i recommend expanding this window a lot for when you're working on a timeline and quick show first you have the menu here you can save or open your show add an audio file we recommend using wave files only as they don't have varying bitrate which can cause issues you can add tracks below for content or effect tracks where you can create effects rename a selected track add a begin and time to create loops give the show details and author remarks or just view the remarks publish to the cloud and open show properties and show properties you can give the show a name and change if the show is measured by seconds or beats and either set a static bpm for the show or use the system bpm here which you can vary on the fly the last option here is for new output at start so if your show starts with something on, but you want it to be dark before you play you can click this some of these items are also found by right clicking on the tracks themselves or by right clicking on the play head area here along the top you also have open and safe modes for working in timeline select and create like so play and stop here you can select strength of an event length binding strong soft and none with this tool you can zoom to the selected event here you can set the marks for the beginning and loop called user time or mainly set the beginning and end with these with this button you can see the properties for the selected event on the timeline where you can give it a name lock its position or mute the event so it won't play you can edit its exact start time and duration and select the rate of change for the event where if you have frames it'll animate the way between them you can also select the audio track with this button and finally you can publish your work to the pan cloud if you wish on the right you have a button to show it now which will show what you're working on live on your laser setup and below that you have a small preview window for what you're working on so you can work on the show live and not emilio output to all live lasers in the main working area of the quick timeline you have a few things on the top left you have the time for where your playhead is you have the playhead itself which is where your output is currently and give me dragged back and forth like so below that you have tracks which is where you can place laser content like so you can right click on the tracks to add tracks and effect lines delete tracks rename tracks or go to track properties in track properties we can rename the trek and also assign where we want laser content on this track to go without anything assigned laser content will go to the zone assigned in the cute grid if you design a zone or zones here all content placed on this track will output to that specific zone this is how you can assign multiple lasers to one track or make a track specifically for graphics and others for beams below that you can assign your slice of tracks to all tracks or just a number of tracks below to speed it up set up once you press ok it will be designated to the track to the left now let's add some content to our timeline we can either create completely new content by double clicking and creating using the create tool and dragging out the area you want to create content for or just by dragging content in the workspace to the track like so every time content is added to your timeline seven main effects are added these are signs, rotation, position, color, brightness, visible points and scan rate a lot of things you want to do with the content to make a show you can achieve with these effects you interact with these effects by double clicking to create a key, a key is a set value if you set a key at the beginning for the size of twenty and then set a key at the end for the size of one hundred then it as the effect plays through it'll move the laser content between the values like so you can move them around by clicking and holding them and you can right click on the keys to edit the key, delete the key, lock the keys position as well as copy the key and paste to another part of the effect effects are scaled on a percentage so if you widen this effect's length the effect will grow with it if you want more detail here you can also right click on the event and go to edit event effect where you can see more detail on your effects? these effects can also be seen and edited on the effect tab in the right area of quick show if you prefer that interface you can also add effects to your event here or right click on the effects in the event for more options like adding more effects, copying effects and pasting deleting or moving the effects order you can change the view of your timeline by either scrolling in and out on your mouse field to scale based on your mouse position or use the zoom in and out buttons down here as well as move left and right with this scroll bar here when you are done creating your show you can either save it to a file to be loaded up here and played back like so or you can click and drag the preview window into an empty cell in the grid, so you can have multiple shows built into your workspace thank you for watching our quickens video on the quicktime line inside of quick show if you still need help you can contact our support line by emailing support at penguin com, and will help you as soon as possible。
 02:00查看AI文稿AI文稿
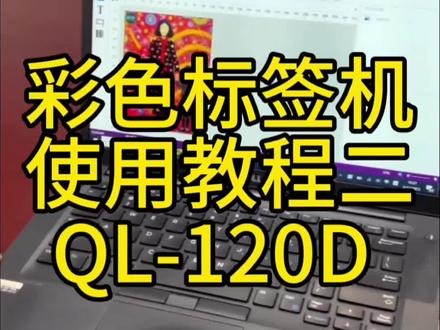
看一下软件,这个软件是我们送的 cql 标签软件,你也可以用 bt 软件,也可以用 aips, 什么软件都可以。那我们现在开始打印,我们打印八份。好,点击这个打印按钮。 好,现在打印机开始接受任务,这个闪烁就是代表他接受任务,准备开始打印。 好,现在开始打,我们一共打了八张。 好,打完以后我们把它切断。怎么切呢?就是按这个暂停键,按一下,长 长按他就是切断。好,我们来看一下这个标签,靠近看一下细节。 好,我们现在在打一个快速切的模式,还是按这个打印键,这里面在一个无返回贴纸,把它打上勾保存好,我们还是打巴掌, 还是两张,一千打八张。看一下这速度。 好,这个速度就更快了。
 02:14查看AI文稿AI文稿
首先将 a、 b 组份分别用搅拌机充分搅匀,取适量 a、 b 组份一比一用搅拌机充分混合,用铲刀刮下筒壁,继续混合,肉眼无白色即可 使用合适型号的瓷砖胶,按照产品说明兑水搅拌至无结块、糊状熟化三到五分钟后即可使用。 将界面胶直接倒在瓷砖背面,无需处理脱模剂和合珠效应,薄批一毫米即可。另外,防止界面胶污染瓷砖,可在涂刮范围与瓷砖边缘留有一到两厘米。 快可美碳基瓷砖界面胶以湿碰湿的施工方法为亮点,无需等待界面胶表单,可直接在界面胶上方均匀批刮合适型号的瓷砖胶, 待批刮均匀,使用三到五毫米。锯齿刮刀对瓷砖胶进行拉槽, 拉槽式锯齿刮刀与机面约成四十五到六十度至拉槽均匀铺满整个平面。最后,为防止铺贴石磨浆,对边缘拉槽进行四十五度处理, 将进行铺贴的机面均匀批刮瓷砖胶进行打底,待批刮均匀后进行拉槽处理。机面拉槽时注意事项与瓷砖拉槽时相同, 以搓、揉、压等方式将瓷砖铺贴牢固,用橡胶锤轻轻敲打瓷砖,保证瓷砖铺贴牢固。最后用抹布擦净瓷砖表面的污污,铺贴过程就完成了。
 00:59查看AI文稿AI文稿
快递享低凸使用教程 d two 供电线延长线发射器若买了单独的低凸款,则没有发射器。 usb 接口只能在 windows 系统或者安卓系统上使用。 hdmi 接口适用于任意设备,只需连接显示器,用供电线供电, 连接好后切换信号源,出现此界面后方可进行投屏操作。设备投屏方法,手机投屏无需发射器。安卓手机打开自带的无线投屏功能,选择设备名称即可。 苹果手机下滑状态栏,点击屏幕镜像,选择设备名称即可。 windows 电脑不使用发射器时,可直接按 win 加 k 进行投屏,选择设备名称即可。 如需反控电脑需要,点击此处权限。 mac 电脑打开控制中心,点击屏幕镜像,选择设备投屏,输入 p 码即可。电脑使用发射器时,插入发射器,点击发射器进行投屏。
 02:01查看AI文稿AI文稿
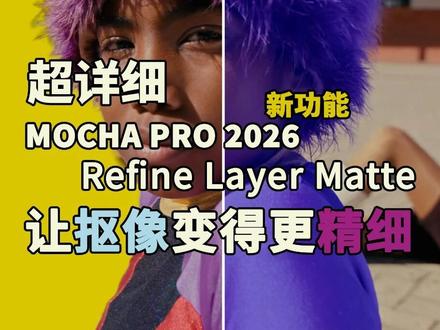
说起摩卡,你可能会第一时间想到它出色的追踪功能,但它更有着一流的 ro 和遮罩。哈喽大家,我是李听,本期咱们扒一扒摩卡 pro 二零二六的新功能,优化图层遮罩,它的功能会让你的 ro 变得更为出色。我们来到摩卡界面,选择画笔工具, 点选人物,新建一个图层遮罩,再使用遮罩辅助 m l 功能分析整个视频画面,你就能获得不错的扣像。 我们放大画面就能看到容貌。这里遮罩的边缘非常生硬,没有一点层次的过渡。 激活涂层遮罩,再把叠加层的颜色改成蓝色,能更清楚的看到这个边缘的毛发细节全部都没了。那怎么样找回这些毛发细节呢?那这里就用到了刚才所说的优化涂层遮罩。 来到蒙版选项里,勾选 refine layer mat。 根据官方的解释,他会给你的素材加载一个新的 m l 模型,会同时分析遮罩和图像。尝试找回毛发的细节就不再是硬邦邦的蒙版画面的边缘也会变得更有层次。 模块这里呢,也会给你两个模型,你可以根据画面的类型进行选择。为了保证遮罩在画面里的稳定,这里我们可以对遮罩做一个扩展,再稍微羽化一下,让边缘融合更完美。 另外告诉你个技巧,如果你的视频中有很多需要精细抠像的画面,那肯定会有很多这个遮罩。如果每个对象都开启 refine, 那 对显卡会造成很大的压力。如果你想要提高渲染的效率,那可以把所有的图层放在一个图层组里,在遮罩属性里 勾选合成组内图层遮罩,就会以组里最底部层的颜色作为统一色,整合成一个遮罩。也就是说,在图层上勾选 refine 时,摩卡就可以使用一个模型,用来优化整个遮罩。 感谢各位收看本期分享,要是这期内容让你有点收获,就帮我一件三连吧,这对我帮助很大。我是李听,咱们下期见!
66李聽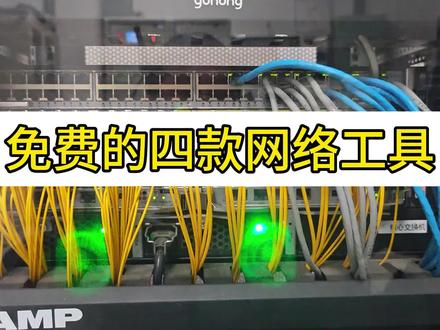 01:12查看AI文稿AI文稿
兄弟们, ip 冲突网络卡这四款运维神器教大家!第一款, quick ping, 做网工的谁没遇到过 ip 冲突,用它扫描一圈就搞定,绿色代表 ip 正在使用,红色代表 ip 空闲用 ip, 再也不用瞎猜,效率直接拉满! 第二款, ad 方案十、 ip scanner 海康助手只能查自家品牌的设备 ip, 但是 ip scanner 直接封神快网断扫描全网所有在线设备 ip 地址、 mac 地址,设备名称全部清晰展示,不管什么品牌什么设备,都一网打尽,全部超省心! 第三款, crt, 专业网工的标配, ssh、 telnet, 全部支持交换机、路由器、防火墙、服务器随便连,配置管理又稳又顺手,纯纯的运为专业工具。 第四款,我要下克网络故障排查的终极神器,抓包分析超给力,不管是网络风暴还是数据异常,他一出手,所有隐藏问题全部暴露!网工必备的肩三十六, 在过滤栏里输入 a r p 回车,这就是最强过滤器,瞬间屏蔽无光流量只显示 a r p 包 ip 和 mac 地址一目了然。工具我已经打包好了,有需要的自取!点击关注不迷路,获取更多安防小妙招!
1.4万弱电爱薇先生


